|
Excuse the fluffy eyebrows - I'm growing them out!
|
So this is my first FOTD so I apologise if its crappy! I am so excited to get my first FOTD up on my blog, I'm literally smiling from ear to ear - weird I know but its a big step for me because I'm so nervous to put my face on the internet for the world to see in case of judgement and all of that but I am overcoming my nervousness and just doing it! A lot of these products I got recently so I'm still busy testing them out and will do a full review on each of them soon. Now to get down to the actual post.
Products used:
Catrice Prime and Fine Smoothing Refiner
Avon Extra Lasting Concealer Stick in Medium Deep
Catrice Infinite Matt Make Up in 010 Light Biege
Essence Sun Club Matte Brunette Bronzer
Catrice Defining Blush in peach
Catrice Prime and Fine Highlighting Powder
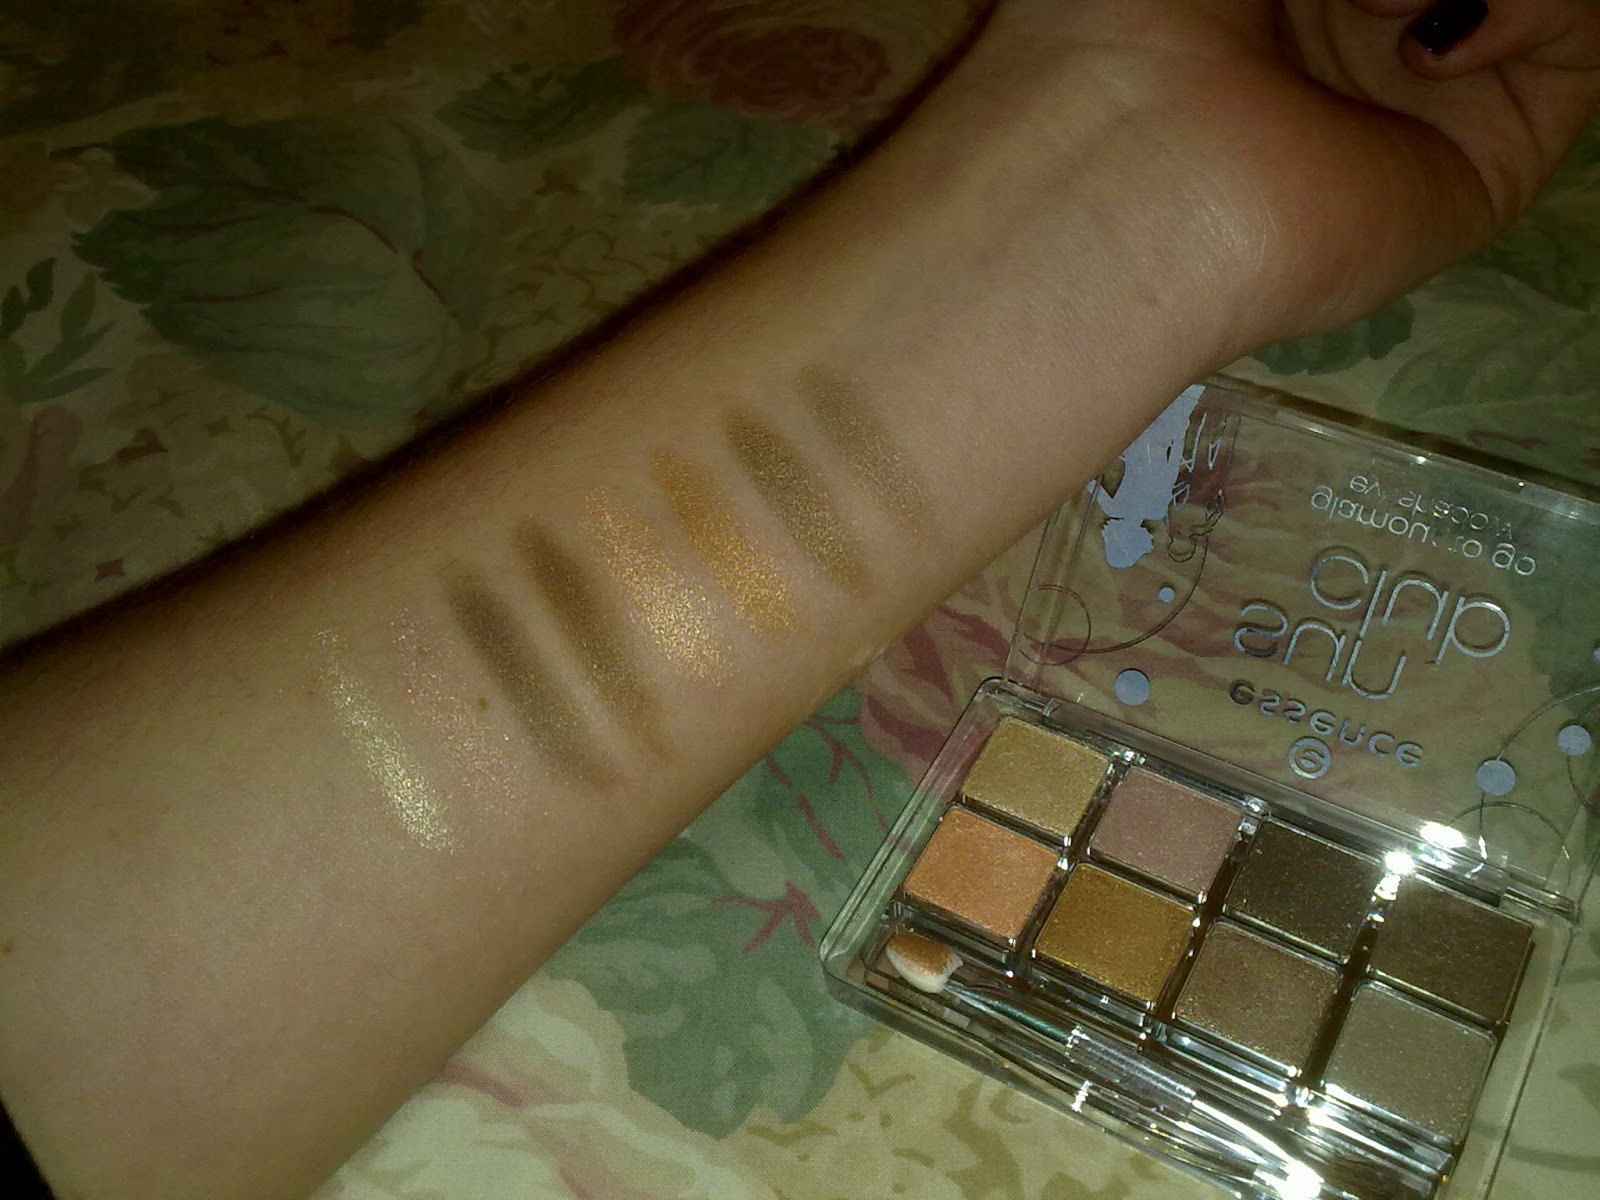
Essence Eyeshadow in Blockbuster
NYX Eyeshadow Palette The Runway Collection
Maybelline Great Lash Mascara
Catrice Eyebrow Stylist
Rimmel Kate Lipstick in 103
Eyelash Curler and various brushes
Basic Process:
I use the Catrice Prime and Fine Smoothing Refiner on my nose, chin, cheeks and eyelids and under my eyes. I find those places need more priming done than other places on my face. I use my fingers and pat it on.
I apply the Avon Extra Lasting Concealer Stick under my eyes and on any red places or places that need touch ups. Its very creamy and covers quite well. I then use my Cala concealer brush to blend it in everywhere.
Next is the Catrice Infinite Matt Make Up which I apply with my hands and then blend it in with a sponge and then buff it in circular motions with my Kabuki brush. The sponge is very much like the Beauty Blender just not as great and not as expensive.
I then run my brush lightly through the Essence Sun Club Matt Bronzer and tap off excess powder and apply it in the "hollows" of my cheeks (just under the cheek bone) and blend it in. I also apply bronzer just under my chin and from my temples and in my hairline. You have to blend in very well otherwise you'll look odd.
I then lightly again run my brush through the Catrice Defining Blush (and I really mean lightly because you'll come out looking way too pink...) and apply it on my cheek bones. I usually leave it only on my cheek bones but I spread it out to the apples of my cheeks today because I'm looking a bit pale today as I'm not feeling well but usually its just applied on my cheek bones.
I then take the Catrice Prime and Fine Highlighting Powder and apply it to the tops of my cheek bones, down my nose and on my cupids bow. This really helps to make your face glow.
For my eyes I use the Essence Eyeshadow in Blockbuster as a base for my eyeshadow. It's a really light, creamy colour that evens out the eyes.
I used the NYX palette for my look and I used gold and pink for my whole eye and blended it in well. I then used a semi grey-brown colour in the creases of my eyes to define them a bit.
I use my eyelash curler to curl my lashes and then used one coat of the Maybelline Great Lash mascara because I wanted my lashes to look long and curled but natural.
I then use my Catrice Prime and Fine Highlighting Powder and put it in the inner corner of my eye to make my eyes look wide awake and bright. I use my Essence smoky eye brush in circular motions to blend in the highlighter and my eyeshadow.
I use my Catrice Brow Stylist to fill in and shape my brows as my eyebrows have gone funny lately and they are so messy and gappy so I'm growing them out and going for a wax to get them back.
Lastly I apply a balm and then some Rimmel Kate lipstick to finish the look.
So that's my look for today and mainly everyday, its very simple and doesn't require a ton of products although it looks like a lot, its not really. I like a very natural, barely there look that allows my freckles to still show through.
Do you do a similar look? What's your everyday makeup?
xxx
Links below: